
Once you install and activate the TinyBar plugin successfully, you should see the default Notification Bar already showing on your web pages.
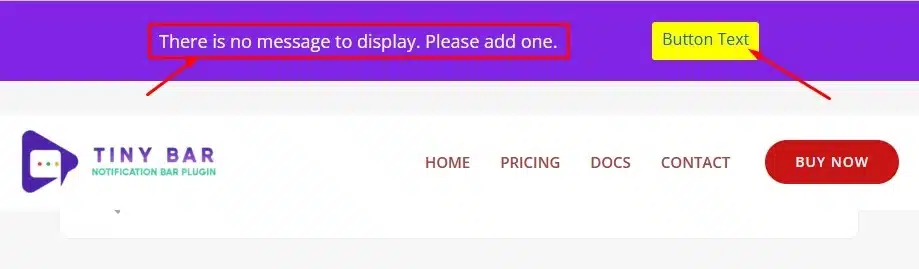
This also means everything is just perfect and you are ready to configure the plugin as per your need.
To configure the plugin, you need to find the settings for this plugin.
So, go to your WordPress admin dashboard and find the Menu “TinyBar”
When you move your mouse on this Menu, you will see various sub menus under it.
For now, we will focus only on Settings Sub Menu.

Click on the Settings sub menu and we will get our first Configuration Page.

As we can see, there are three different tabs in this panel – General, Content and Styles
General Settings Page
This settings page allows you to control the visibility and layout of your notification bar like Display Position, Display Behavior, Show-Hide Capability etc.
Content Settings Page
This settings page allows you to manage the notification bar content like Display Message, Button Text, Button Url etc.
Styles Settings Page
As the name suggest, this settings page allows you to apply or manage the color styling as per your branding.


